How to Examine and Maintain a Handcrafted Cutting Board: A Field Method
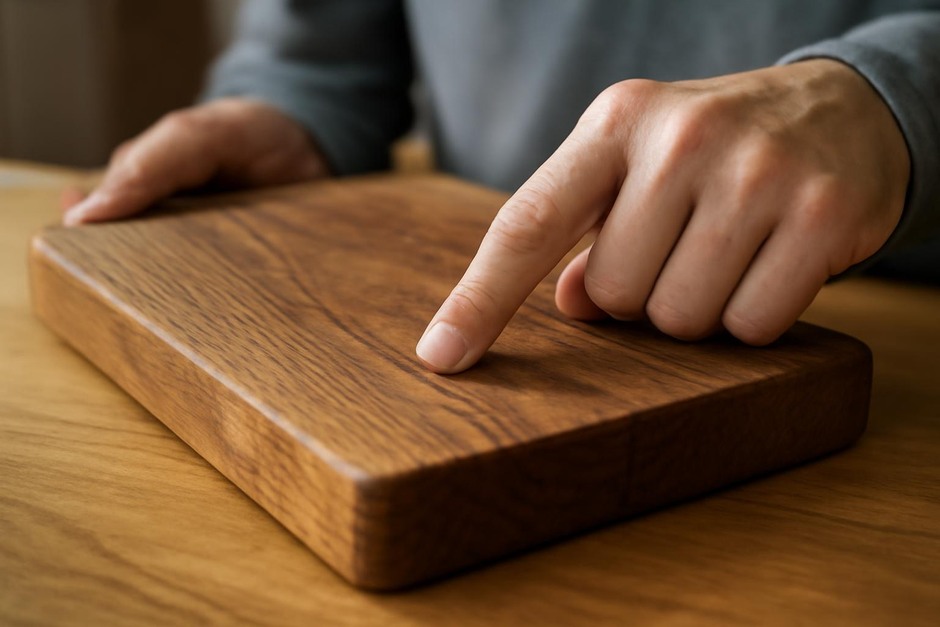
A cutting board is an object of repeated attention: it shows knife marks, collects juices, and develops a quiet patina that tells a history of meals. This guide is a step-by-step method for observing a handcrafted cutting board at first glance and over time, followed by practical variations and a troubleshooting list for the small repairs most owners will face.
Step-by-Step Method
Work slowly and with the board clean and dry. Each step is meant to be done in sequence; spend extra time where something seems unusual.
-
Visual and tactile survey
Set the board on a flat surface. Note the size, weight, and balance. Run your hand along each edge and face. Look for obvious gaps in glue lines, deep cracks, or raised grain. Observe the grain orientation: is it end-grain (ends of boards assembled like a checkerboard), edge-grain (long grain running along the face), or a laminated plank?
-
Check for flatness and warp
Place the board on a flat table and press gently near each corner and the middle. A small, even give is normal, but rocking or a pronounced gap indicates warping. If the board has feet or a handle, observe whether those contact points affect how it sits.
-
Inspect joinery and glue lines
Look closely at glued seams and end-grain joints. Small hairline separations may be repairable; gaps wider than a hair suggest stress or humidity change. Smell near seams—an off, mildew-like scent points to moisture trapped in a crack.
-
Identify the finish
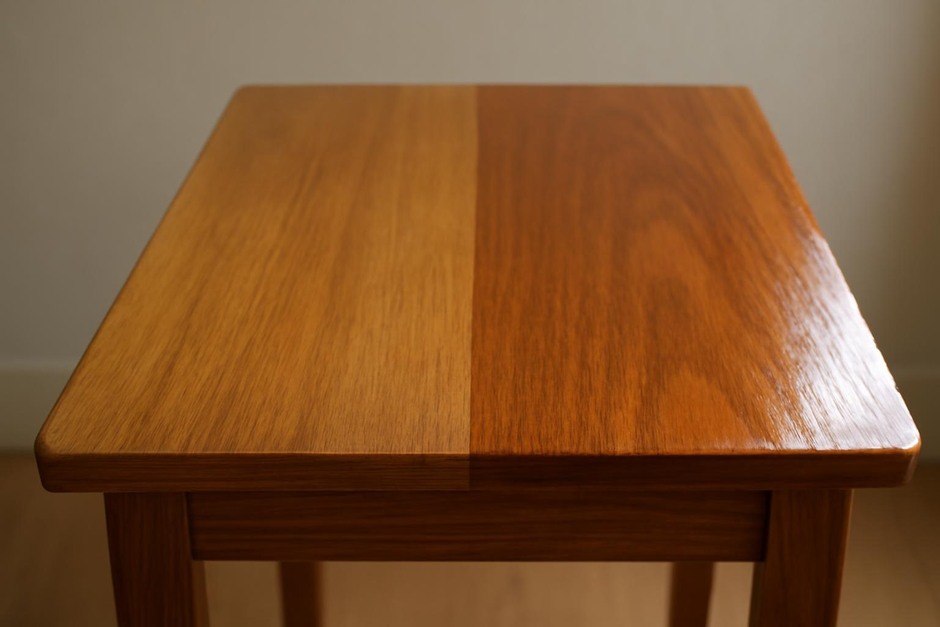
Tap the surface and note the sound: a dull thud often indicates an oil finish, while a slightly brighter tap can suggest a harder varnish. Visually, a soft sheen with visible pores usually means oil; a glassy film points to a sealant. If uncertain, ask the maker or test a small inconspicuous spot with a drop of water—if the water beads, the board likely has a surface seal.
-
Record dimensions and expected use
Measure length, width, and thickness. Thicker, heavier boards tolerate heavier work and longer spans between flattening. Decide which side will be daily-use and which will be reserved for pastry or presentation.
-
First cleaning and conditioning
Wash the board by hand with warm water and a mild dish soap, rinse, and pat dry. Once fully dry, apply a food-safe oil (mineral oil or a maker’s recommended oil) sparingly with a soft cloth and let it rest overnight. This establishes the care routine and reveals how the wood accepts oil.
Daily and Periodic Care Steps
-
After use
Wipe and rinse, then dry upright to allow air circulation. Avoid soaking or dishwashers.
-
Weekly to monthly
Reapply oil lightly until the wood stops absorbing it. Buff with a soft cloth. For a waxed finish, use a thin paste of beeswax and oil to restore a tactile barrier.
-
When the surface feels rough
Sand with progressively finer grits and re-oil. For end-grain boards, sand gently to preserve the block edges; for edge-grain, a more assertive flattening is acceptable.
Variations
- End-grain vs edge-grain: End-grain boards are gentler on knives and can hide cuts, but they trap moisture differently and need regular oiling. Edge-grain boards are thinner and lighter but show knife marks more readily.
- Species differences: Hard maples and beech are common for durability; walnut and cherry offer color contrast but may darken with age. Bamboo behaves differently—it’s a grass product and can delaminate if left wet.
- Functional features: Juice grooves, handles, or reversible sides change how you use and care for the board. A juice groove collects liquid—clean it promptly and oil it regularly to prevent staining.
- Finishes: Pure mineral oil penetrates and needs frequent reapplication; wax blends add a surface layer and slow absorption. A hardened finish reduces absorption but can crack with heavy knife use.
Troubleshooting
-
Warping or cupping:
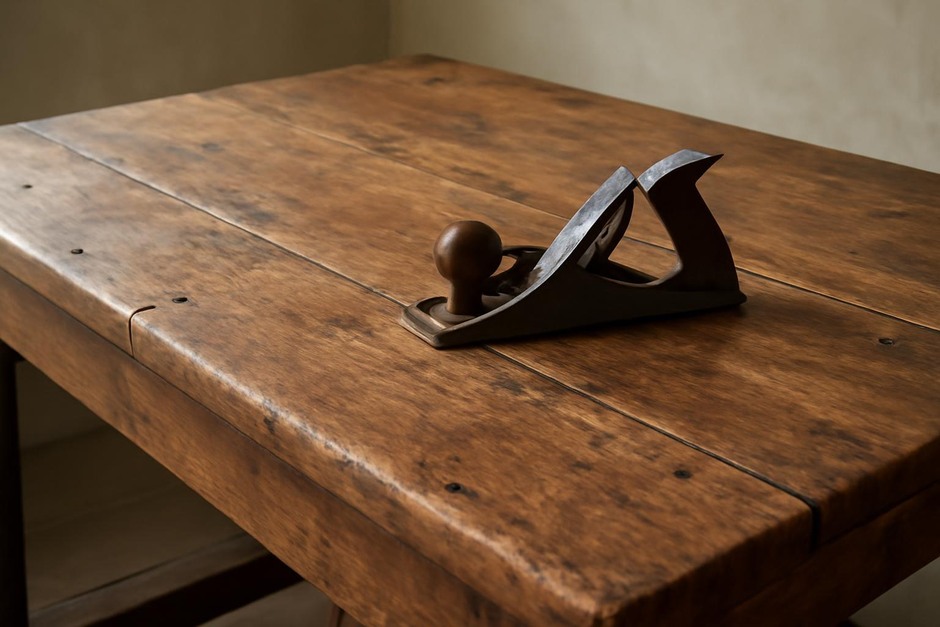
Usually caused by uneven moisture. Flattening on a dry day by placing the board facedown with a weight or running a hand plane/sander across the convex side can help. For severe warp, a maker or skilled woodworker should re-laminate and clamp the board flat.
-
Deep cuts and grooves:
Sand level with coarse, then finer grits until smooth. Reapply oil. For end-grain boards, spot-sanding preserves the distinct block pattern.
-
Persistent odors or stains:
Rub with coarse salt and a halved lemon, rinse, dry, then oil. If discoloration remains, light sanding removes surface stain layers.
-
Cracks or glue failure:
Small hairline cracks can be stabilized with oil and applied glue in the seam, clamped until set. Large separations usually require re-gluing by the maker or replacement; note that repeated stress can indicate an unsuitable thickness or humidity exposure.
-
Mold or black spots in end grain:
Clean with a mild vinegar solution, dry thoroughly, then sand out affected fibers if needed. Address underlying humidity to prevent recurrence.
A handcrafted cutting board rewards attention. Small, regular care prevents many repairs, and looking closely when you first bring a board into the kitchen lets you adapt maintenance to the board’s material and construction. Over months and years, keep notes on what you observe—how often it needs oil, where knives bite deepest, and how the board settles into its place on the table.