Wipe-On Oil or Brush-On Varnish for a Small Wooden Table: A Calm Comparison and How to Decide
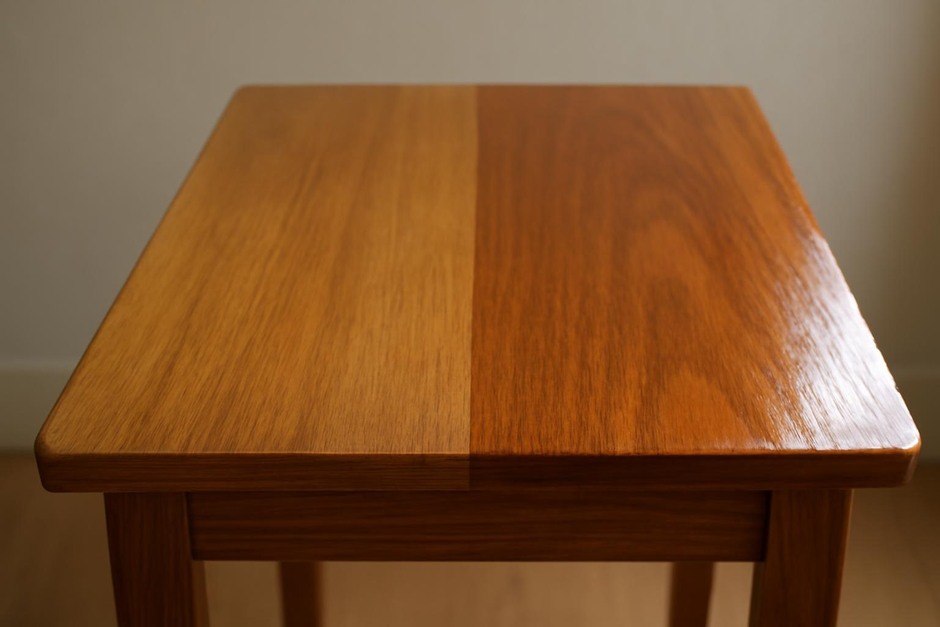
Finishing a small wooden table is one of those short projects that can change how you feel about a piece. Two straightforward approaches are common: a wipe-on oil (linen, tung, or Danish oil) and a brush-on varnish (polyurethane, spar varnish, or water-based varnish). Each has a distinct set of trade-offs: appearance, durability, feel, and future maintenance. Below is a calm, practical comparison followed by guidance to help you choose — and a checklist of frequent mistakes and easy corrections.
Comparing the approaches
Look and tactile qualities
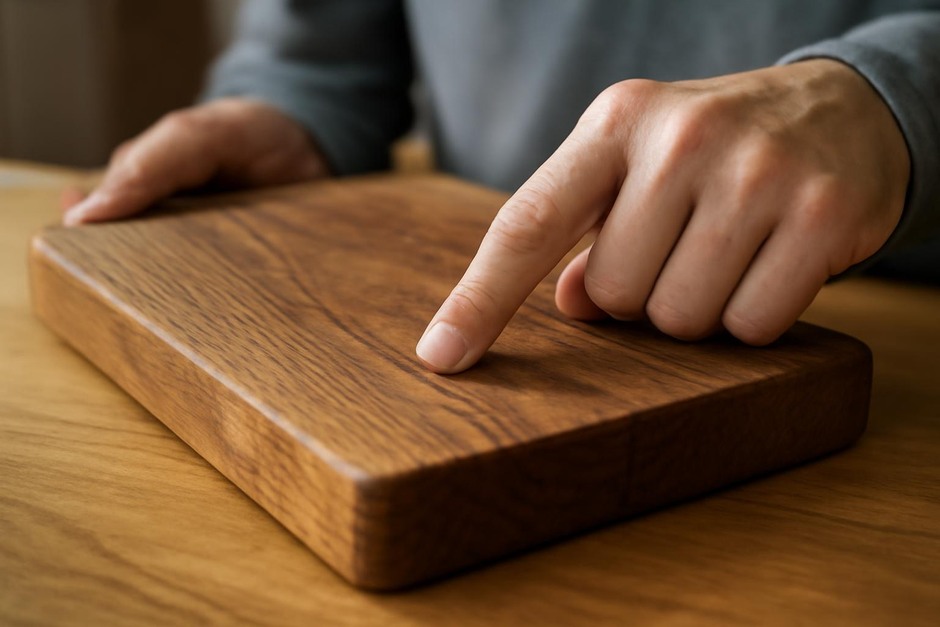
- Wipe-on oil: Penetrates the wood and enhances its natural depth and grain. The surface remains matte to satin and feels close to raw wood — slightly warm and smooth. Oil tends to age gracefully; scratches often blend into the patina.
- Brush-on varnish: Creates a clear film on the surface. Available finishes range from matte to high gloss. A varnished table feels more sealed and slick; light reflects differently, which can make tiny dents or dust more visible.
Durability and protection
- Wipe-on oil: Resists water only modestly. Spills bead less and may darken wood for a moment but can be wiped; repeated exposure will eventually cloud the surface. Oils are tolerant of heat and won’t crack like film finishes, but they offer limited scratch and stain resistance.
- Brush-on varnish: Offers stronger resistance to water, heat, and stains because it forms a continuous layer. It protects better against frequent use, hot mugs, and liquids, provided the film is intact.
Application and repair
- Wipe-on oil: Easy to apply with a rag in thin coats. Dries faster between coats and is forgiving of minor surface preparation. When scratches or wear appear, you can spot-treat with more oil and blend.
- Brush-on varnish: Requires attention to brush marks, dust control, and drying times. Proper sanding between coats is important for adhesion and appearance. Repairing a varnished surface often means feathering and re-coating a larger area to avoid visible edges.
Time, smell, and tools
- Wipe-on oil: Minimal tools (rags, gloves, fine abrasive). Often less smell and fewer long drying times, depending on the product. Clean-up is simple but rags must be handled carefully to avoid spontaneous combustion — a common safety oversight.
- Brush-on varnish: Needs brushes (or a sprayer), careful stirring, and more controlled conditions. Longer cure times and stronger odors are typical with solvent-based varnishes. Water-based varnishes reduce odor but still require patience.
Common mistakes and simple corrections
- Not sanding enough before finishing: Problem — the finish highlights tool marks and unevenness. Correction — sand progressively (120–220 grit for most small tables) and wipe off dust before finishing.
- Applying oil too thickly: Problem — tacky, sticky surface. Correction — wipe off excess within the product’s recommended timeframe and allow full cure; strip and start again only if persistently tacky.
- Brushing varnish in a dusty space: Problem — dust nibs and uneven surface. Correction — clean the work area, use a tack cloth before each coat, and sand lightly between coats to remove nibs.
- Failing to thin first varnish coats when necessary: Problem — poor flow or bubbles. Correction — follow manufacturer advice; thinning the first coat can improve adhesion and flow.
- Ignoring rag disposal with oils: Problem — rags can self-heat and catch fire. Correction — lay rags flat to dry outdoors or submerge in water and seal in a metal container before disposal.
How to choose between them
Ask yourself four practical questions:
- How will the table be used? If it will frequently bear hot cups, wet glasses, or heavy wear, a varnish usually provides more assurance. For occasional use, a simple oil finish is often sufficient and pleasurable.
- Which look do you prefer? Choose oil for a natural, tactile feel and depth; choose varnish if you want visible sheen, easier cleaning, and a surface that reads as sealed.
- How much maintenance do you want? Oil invites periodic re-application (a light rub with oil once or twice a year for a working table). Varnish is lower maintenance day-to-day but can be more work to repair when damaged.
- What level of skill and setup do you have? Oils are more forgiving and simpler for a first-time finisher. Varnish benefits from a dust-free environment, good brushes, and patience.
If you remain undecided, a hybrid approach works: apply a penetrating oil first to enrich the wood, then topcoat with a thin varnish for protection. This combines warmth and depth with a durable surface, but it requires attention to product compatibility and adequate drying times.
Brief finishing checklist
- Sand progressively and remove all dust.
- Test your chosen finish on scrap or an inconspicuous spot.
- Apply thin coats; wipe or sand between them as directed.
- Dispose of oil rags safely; ventilate for varnish cures.
- Plan for maintenance: periodic oiling or mindful repairs to varnish as needed.
Making a table is partly about the way you live with it. Choose the finish that suits the rhythm of your use and the care you enjoy giving. Both approaches can yield a table you’re pleased to set things upon—if you follow a steady, careful method and correct the small mistakes along the way.