A Seasonal Method for Refreshing a Worn Wooden Spoon
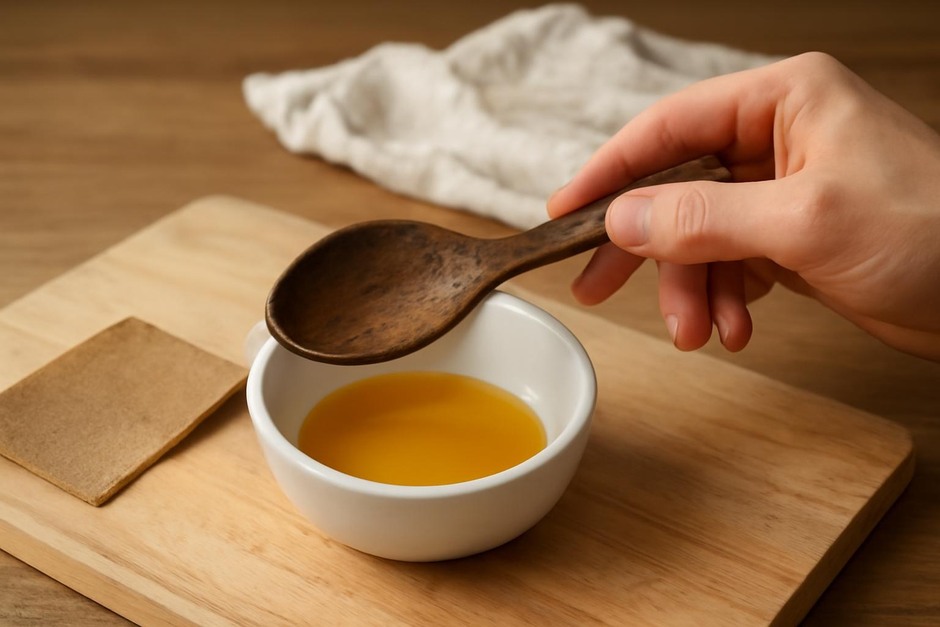
Wooden spoons are modest, reliable companions in the kitchen. Over time they darken, develop rough patches, or feel gummy where sauces have clung to the grain. A gentle seasonal refresh — a short procedure you can do in an hour or two — restores comfort and slows wear without sending the spoon to the landfill. Below is a method I use in early spring and late autumn, when I’m already tending cupboards and linens. After the step-by-step, you’ll find variations and a troubleshooting section for common problems.
Step-by-step method
This routine works for spoons made of hardwoods such as maple, beech, cherry, and olive. Avoid it for painted, laminated, or composite utensils.
- Gather supplies. You need a mild soap, a soft scrub brush or non-metallic scouring pad, fine-grit sandpaper (220–320), two clean lint-free cloths, a food-safe oil (see variations), and a shallow dish or small jar.
- Clean the spoon. Wash the spoon by hand with warm water and a little soap. Focus on bowls and crevices. Rinse well. If the spoon has gummy residue, soak it briefly (5–10 minutes) in warm water with a tablespoon of baking soda, then scrub gently.
- Dry thoroughly. Pat the spoon dry and let it air-dry for 30–60 minutes. The wood should be cool and completely dry before sanding or oiling.
- Lightly sand. Using fine-grit sandpaper, sand with the grain to remove rough spots, small stains, or darkened patches. Use gentle pressure; the aim is to smooth, not to reshape. Wipe away dust with a dry lint-free cloth.
- Apply oil. Pour a small amount of oil into the shallow dish. Dip the cloth into the oil and rub a thin, even coat over the entire spoon — handle and bowl. Work with the grain and around any carved details.
- Let it absorb, then wipe. Let the oil sit for 15–30 minutes, then rub off excess with a clean cloth. If the wood drinks the oil quickly, apply a second thin coat. Allow the spoon to rest upright or on a rack for several hours or overnight to fully absorb.
- Buff and store. After the oil has set, buff with a soft cloth until the spoon feels dry and smooth. Store in a dry place; avoid sealing in an airtight container while still slightly tacky.
Variations
- Choice of oil. A common and reliable option is food-grade mineral oil — odorless, colorless, and stable. For a more natural aroma, try fractionated coconut oil, walnut oil (for non-allergenic households), or a dedicated butcher-block oil. Beeswax can be added to oil for a more protective finish: melt a small amount of beeswax into the oil, cool, and apply as above for a slightly waxier feel.
- Deeper cleaning. If a spoon has absorbed strong flavors or smells, scrub with a paste of baking soda and water before step 2. For stubborn stains, rub with a cut lemon or white vinegar, rinse, then proceed to sanding and oiling.
- Minimal refresh. If your spoon only needs a quick touch-up, skip sanding. Clean, dry, and apply one thin coat of oil every 4–6 weeks in regular use to keep it nourished.
- Refinishing old or dark spoons. For heavily stained or very old spoons you wish to refinish, use a slightly coarser paper (150–180) to remove more surface before moving to 220–320 grit and oiling. Take care not to alter the spoon’s profile unless you intend to carve it deliberately.
Troubleshooting
Below are solutions for issues you may encounter.
- Sticky or gummy finish. Excess oil left on the surface can feel tacky. Wipe thoroughly with a clean cloth and allow more curing time. If tackiness persists, wipe the spoon with a rag dampened with a little denatured alcohol, then re-oil sparingly.
- Persistent odor. Soak the spoon in a solution of warm water and a tablespoon of baking soda for an hour, then rinse, sand lightly, and re-oil. Lemon rubs can help with citrus or onion odors but avoid leaving vinegar or acid on the wood too long.
- Splitting or deep cracks. Small surface checks can be filled with a mixture of finely sanded wood dust and oil, then smoothed and re-oiled. Large splits are best treated by a woodworker; consider keeping the piece as a display object if structural repair isn’t feasible.
- Allergic concerns. If someone in your household has a nut allergy, avoid walnut or other nut-derived oils. Use mineral oil or coconut oil instead.
Seasonal maintenance is less about exact measurements and more about a gentle rhythm: a short ritual that honors tools you use every day. A few moments of care return a spoon to its comfortable, familiar state and extend its life by years.